
If you are managing an injection molding or extrusion facility, you already know that your profit margins are completely dependent on reducing scrap rates. When parts come off the line with silver streaks, flow lines, or delamination, they cannot be shipped to the client. The harsh reality of plastics manufacturing is that operator guesswork often replaces scientific troubleshooting. Processors will spend hours tweaking barrel temperatures and injection speeds, completely ignoring the fact that the root of the problem often lies in material preparation and masterbatch quality.
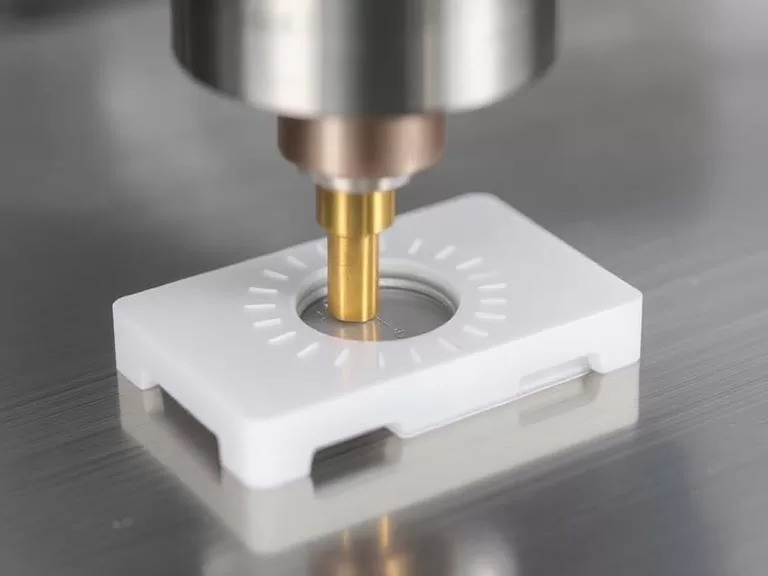
From our experience on the factory floor, identifying the exact causes of poor surface finish in plastic parts is the only way to establish a profitable, repeatable manufacturing process. We do not believe in throwing out generic textbook theories. In this comprehensive industry guide, we are detailing the commercial and practical realities of polymer processing. We will break down exactly why these aesthetic defects happen, how the chemistry of your colorants affects the mold, and whether upgrading your raw materials is actually worth the investment.
Quick Answer: What are the primary causes of poor surface finish in plastic parts?
The most frequent causes of poor surface finish in plastic parts include uncontrolled moisture in hygroscopic resins (causing splay), poor pigment dispersion from low-quality masterbatches, inadequate mold venting (causing burn marks), thermal degradation from overheating, and utilizing incompatible carrier resins. To permanently fix these issues, manufacturers must implement strict material drying protocols, optimize injection speeds, and invest in premium, twin-screw extruded masterbatch formulations that guarantee chemical compatibility with the base polymer.
Table of Contents
- What It Is and How It Works
- The 11 Common Causes of Poor Surface Finish in Plastic Parts
- The Benefits of Upgrading Your Process
- Limitations of Cheap Machine Fixes
- Who Should Use Premium Materials (And Who Does Not Need To)
- Common Mistakes in Troubleshooting
- Buying Considerations for Manufacturers
- Process Comparison and Summary Tables
- Expert Recommendation
- Frequently Asked Questions
What It Is and How It Works
Surface finish in plastic manufacturing refers to the visual and tactile quality of the exterior of a molded or extruded product. A Class-A surface finish is perfectly smooth, uniform in color, and free of any visible blemishes. Achieving this requires a precise balance of thermodynamics, fluid dynamics, and polymer chemistry.
How it works is relatively straightforward, yet incredibly difficult to master. Plastic pellets and colorants are fed into a heated barrel where a rotating screw shears and melts them into a homogenous fluid. This melt is injected under immense pressure into a cold steel mold. In most professional situations, the plastic must pack out the cavity and cool uniformly against the polished steel wall. If the melt is contaminated, if gases cannot escape, or if the pigment agglomerates have not been properly dispersed during the masterbatch production process, the surface of the plastic solidifies with visible turbulence. Understanding these interactions is the key to identifying the causes of poor surface finish in plastic parts.
The 11 Common Causes of Poor Surface Finish in Plastic Parts
1. Uncontrolled Moisture in the Resin (Splay)
Moisture is the silent killer in plastic processing. When hygroscopic polymers (like ABS, Polycarbonate, or Nylon) are not dried to their required dew point, water remains trapped inside the pellet. During processing, this water boils into steam. As the plastic hits the mold, the steam is dragged across the surface, creating silver streaks commonly known as splay. You cannot fix wet resin with machine adjustments; you must use a calibrated desiccant dryer.
2. Poor Pigment Dispersion from Cheap Masterbatch
In our testing, one of the most frustrating causes of poor surface finish in plastic parts is utilizing low-tier colorants. If your masterbatch is manufactured on inferior single-screw extruders, the raw pigments remain in clumps. When injected, these clumps appear as color streaks, dots, or a cloudy haze on the final product. Partnering with top-tier masterbatch suppliers worldwide is critical for high-gloss, flawless finishes.
3. Inadequate Mold Venting
As molten plastic rushes into a mold cavity, it displaces the air inside. If the mold lacks proper vents, that air compresses, superheats, and physically burns the leading edge of the plastic front. This creates black, charred marks on the surface known as the “diesel effect.” Regular mold maintenance and clearing blocked vents will instantly resolve this.
4. Incompatible Masterbatch Carrier Resins
Delamination—where the surface of the plastic peels off in flaky layers—is almost exclusively a chemical compatibility failure. If you try to run a polyethylene (PE) based colorant into an engineering resin, the two plastics will not bond. You must consult a masterbatch composition guide to ensure your carrier resin matches your base polymer exactly. For instance, knowing what is PBT masterbatch is vital before adding it to automotive polyester applications.
5. Incorrect Injection Speeds
If you inject plastic too slowly, the melt front begins to cool and solidify before the mold is fully packed. This creates visible flow lines, hesitation marks, and a dull finish. Conversely, injecting too fast can cause jetting, where the plastic snakes into the cavity, leaving a permanent wavy scar on the surface.
6. Thermal Degradation (Overheating)
Plastics have strict thermal limits. If your barrel temperatures are set too high, or if the plastic sits in the barrel too long (excessive residence time), the polymer chains break down. This degradation manifests as brownish-yellow streaks, a severe loss of gloss, and a brittle surface. Always process materials at the lowest possible temperature that allows for proper mold filling.
7. Excessive or Degraded Regrind
Recycling runners and scrap is great for cost savings, but excessive use of regrind introduces foreign contaminants and degraded polymer chains into your fresh melt. If the regrind has not been properly filtered for dust, or if it has been heat-cycled too many times, it will cause unpredictable surface pimples and a milky, inconsistent finish.
8. Too Much Filler Content
To reduce raw material costs, many processors rely heavily on calcium carbonate or talc fillers. Understanding what is filler masterbatch is important, but overusing it guarantees a matte, chalky surface finish. High filler loadings disrupt the polymer matrix on the surface, making it impossible to achieve a high-gloss, premium look.
9. Poor Gate Design or Placement
The gate is where the plastic enters the mold cavity. If the gate is too small, it generates immense shear heat, causing the material to blush or dull right at the entry point. Furthermore, if a gate is placed in a highly visible cosmetic area, the inevitable gate vestige will ruin the surface finish. Gate locations must be simulated and hidden during the tooling design phase.
10. Contamination in the Hopper or Barrel
Surface specks that change color randomly are usually the result of a dirty machine. If the hopper, material lines, or the screw itself are not thoroughly purged between color changes, residual degraded plastic will constantly flake off into your new production run, ruining the surface finish.
11. Cold Mold Temperatures
A mold that is too cold freezes the plastic instantly upon contact. The polymer chains do not have the necessary fraction of a second to relax and replicate the polished surface of the steel. Raising the mold temperature allows the plastic to pack out completely, significantly improving gloss and eliminating weld lines.
The Benefits of Upgrading Your Process
Addressing the causes of poor surface finish in plastic parts is not just an exercise in aesthetics; it is a critical commercial strategy. The primary benefit is the immediate reduction in scrap rate. When you invest in high-quality raw materials and strict moisture control, your yield increases. You stop wasting machine hours producing parts that get thrown into the grinder.
Furthermore, mastering how to color plastic permanently without surface degradation allows you to target higher-margin industries. You can begin manufacturing medical housings, premium cosmetic packaging, and high-end automotive interiors—sectors that absolutely demand a flawless Class-A finish.
Limitations of Cheap Machine Fixes
We see processors constantly trying to bandage material problems with machine settings. For heavy-duty applications, tweaking pressure might hide a minor sink mark, but it will never fix wet resin or poor pigment dispersion. The limitation of relying on temperature hikes to fix flow lines is that it drastically extends your cooling time. You are artificially extending your cycle time to mask a raw material failure, which destroys your daily production capacity.
Who Should Use Premium Materials (And Who Does Not Need To)
For commercial users manufacturing consumer electronics, appliances, or point-of-purchase retail displays, you must invest in premium, twin-screw extruded masterbatch. The aesthetic quality of these products dictates their market value.
Who does not need this level of strict control? If you are molding internal structural brackets, underground drainage pipes, or thick-walled agricultural bins, a perfect surface finish is irrelevant. In these scenarios, a few flow lines or a slightly matte finish from using a cheaper filler masterbatch will not impact the functionality or the sale of the product. Save your money where aesthetics do not matter.
Common Mistakes in Troubleshooting
For beginners in polymer processing, the most common mistake is misdiagnosing moisture splay as thermal degradation. Both can look like streaks on the part. However, raising the temperature to fix what you think is “cold flow” will actually make moisture splay significantly worse by generating more steam. Always check your material dryer before adjusting the machine.
Another frequent error is buying colorants based solely on the plastic masterbatch price per ton 2026 without evaluating the carrier resin or dispersion quality. Cheap masterbatch will cost you ten times its savings in rejected parts.
Buying Considerations for Manufacturers
When selecting a supplier to help eliminate the causes of poor surface finish in plastic parts, you must exercise commercial judgment. We recommend auditing your potential vendors. Do they use twin-screw extruders? Can they provide a masterbatch color code chart that guarantees lot-to-lot consistency? Are their carrier resins customized to your specific base polymers?
If you are struggling with surface defects, you need a partner, not just a vendor. You need access to experts who can guide you on how to color plastic permanently without sacrificing mechanical properties.
Process Comparison and Summary Tables
| Defect Appearance | Primary Cause | Immediate Solution |
|---|---|---|
| Silver streaks radiating from gate | Moisture in the resin (Splay) | Check desiccant dryer dew point; dry material thoroughly. |
| Dark charred marks at end of flow | Trapped air / Diesel Effect | Clean mold vents; slow down injection speed at end of stroke. |
| Color specks or cloudy haze | Poor pigment dispersion | Switch to high-quality, twin-screw extruded masterbatch. |
| Flaky, peeling surface layers | Incompatible carrier resin | Match masterbatch carrier strictly to the base polymer. |
| Feature | Premium Masterbatch Suppliers | Low-Tier / Cheap Suppliers |
|---|---|---|
| Manufacturing Equipment | Twin-screw extruders (high shear) | Single-screw extruders (low shear) |
| Pigment Dispersion | Flawless, uniform distribution | Agglomerates, causing visible specks |
| Carrier Resin | Custom-matched to base polymer | Generic, universal carriers (high risk of delamination) |
| Impact on Surface Finish | High gloss, Class-A capable | Dull, inconsistent, prone to streaking |
| Strategy | Pros | Cons |
|---|---|---|
| In-House Raw Pigment Mixing | Perceived lower raw material cost for massive volumes. | Extremely messy; high risk of airborne contamination causing surface defects; poor dispersion without specialized equipment. |
| Purchasing Pre-Dispersed Masterbatch | Clean, dust-free manufacturing; perfect color consistency; eliminates dispersion-related surface defects entirely. | Slightly higher initial cost per pound compared to raw pigment powder. |
Expert Recommendation
To definitively eradicate the causes of poor surface finish in plastic parts related to colorants and additives, you must rely on superior compounding engineering. You cannot achieve a premium finish with substandard raw materials.
Why We Trust Charming Masterbatch
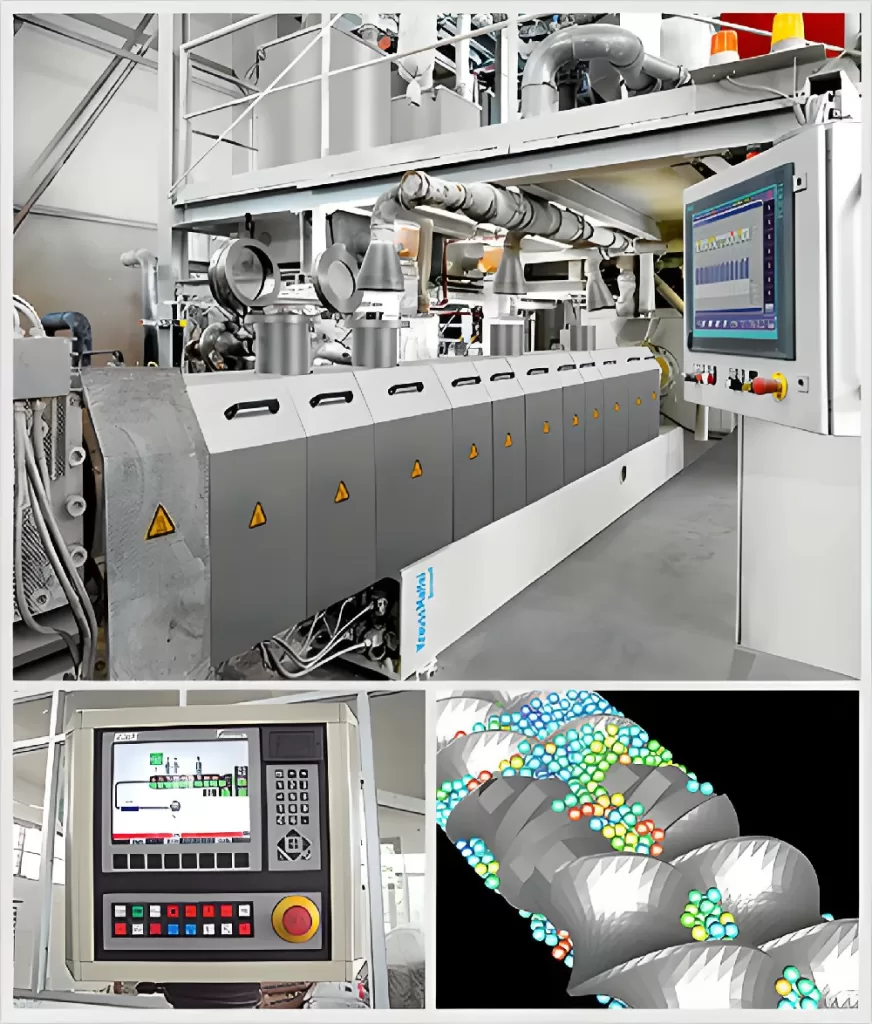
拥有先进的德国双螺杆设备以及数十年的母粒生产经验与颜料分散技术,彩艳一直为客户提供高品质的色母粒产品和创新的功能母粒解决方案。
彩艳母粒在国内化纤市场名声在外,广为业界熟悉,同时也出口到欧洲、美洲、中东、北非、东南亚等18个国家和地区市场。
不单是母粒,彩艳向客户提供完整的技术支持服务和开发项目合作平台,协助客户解决实际生产中遇到各种问题,同时彼此合作,共同开发新产品、新市场。
We are so proud that we can share our experience and technology with customers and grow up together. If you are serious about upgrading your production quality, we strongly advise you to reach out and upgrade your supply chain.
Frequently Asked Questions
Why does my plastic part look cloudy or hazy?
A cloudy or hazy surface finish is typically caused by one of two factors: poor pigment dispersion from a low-quality masterbatch, or a mold temperature that is running too cold, which prevents the plastic from replicating the polished surface of the mold steel.
Can I fix silver streaks by lowering the barrel temperature?
No. If the silver streaks are caused by moisture (splay), lowering the barrel temperature will not fix the issue and may cause the plastic to freeze off prematurely. You must physically remove the moisture from the raw resin using a desiccant dryer before processing.
Does masterbatch quality really affect surface finish?
Absolutely. The dispersion of pigment directly impacts the physical matrix of the plastic. Cheap masterbatches manufactured on single-screw extruders leave clumps of pigment that cause surface specks, dullness, and mechanical weak points. Upgrading your masterbatch is one of the fastest ways to improve surface aesthetics.
What causes flow lines in injection molding?
Flow lines are usually caused by injection speeds that are too slow or melt temperatures that are too low. This allows the plastic to begin cooling and solidifying while it is still flowing through the cavity, leaving visible ridges or rings on the surface of the finished part.
Authoritative References & Industry Standards
To ensure our readers have access to the most accurate and scientifically backed data regarding polymer processing, we consult the following authoritative industry organizations:
- Society of Plastics Engineers (SPE) – Global technical resources and troubleshooting guidelines for plastics manufacturing.
- ASTM International – Standard test methods for evaluating the visual quality and properties of molded plastics.
- British Plastics Federation (BPF) – Comprehensive processing defect analysis and material compatibility guides.